Floor Coating Failures
A field guide to why concrete floor coatings peel, blister, pinhole, wear through and discolor — and how to trace each failure back to the slab, the prep, the product or the service.
Key takeaways
- Most floor coating failures trace back to the concrete — inadequate surface profile, contamination, weak surface layers or moisture — rather than to the coating product.
- Peeling, blistering, pinholes, hot-tire pickup, cracking, wear-through and discoloration each have characteristic clues that point to a cause.
- Moisture testing, pull-off testing and a close look at the back of failed coating chips solve most investigations.
- Prevention is a sequence: test the slab, prepare to the right profile, choose a system for the real service conditions, and control application.
Floor coatings face a harsher combination of stresses than most surfaces: a porous, often damp and contaminated substrate below, and abrasion, impact, chemicals, hot tires and thermal shock above. When they fail, the results are visible, disruptive and frequently argued over. This article gives an overview of the main failure modes on concrete floor coatings, how to recognize them, and where to look for the cause. Detailed mechanisms for individual defects are covered in their own articles.
Common failure modes at a glance
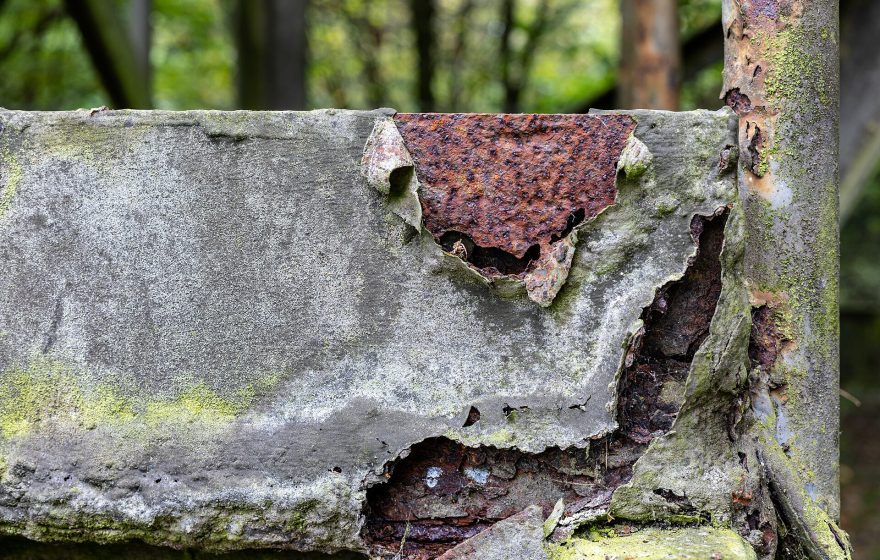
- Delamination and peeling — coating releasing from the concrete or between coats.
- Blistering — domes, often liquid-filled, in otherwise sound coating.
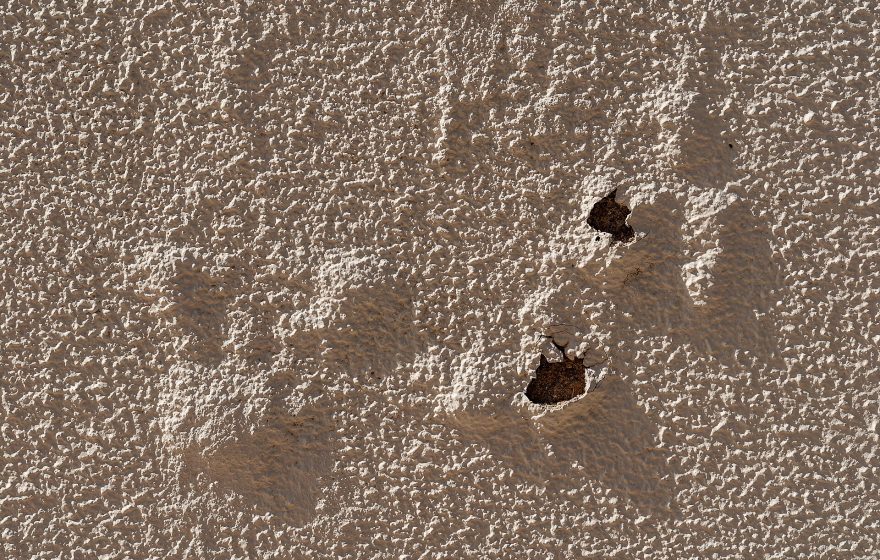
- Pinholes and craters — small holes or voids from air escaping the slab during cure.
- Hot-tire pickup — coating lifting under parked vehicle tires, common in garages.
- Cracking — reflective cracks over slab cracks and joints, or shrinkage cracks in thick systems.
- Wear-through and gouging — loss of film in traffic lanes, at turns and under impact.
- Discoloration, blush and yellowing — cosmetic changes from cure conditions, UV or chemicals.
- Chemical attack — softening, staining or etching where spills occur.
Causes behind the symptoms
Inadequate surface preparation
Coatings need a clean, sound, open-textured surface. Laitance, curing compounds, sealers, oil, and smooth, power-troweled surfaces all prevent bonding. Failed coating that peels off showing a smooth back with little or no concrete attached is the classic sign. ICRI 310.2R defines concrete surface profiles (CSP 1–10); most thin-film epoxies call for a lower CSP than thick mortars and self-levelers. See concrete surface preparation and CSP.
Moisture and vapor drive
Slabs-on-grade without an effective vapor retarder, or young slabs that have not dried, can transmit enough moisture to disbond low-permeability coatings. Dissolved alkalis and salts at the interface draw in more water, producing osmotic blisters that contain high-pH liquid. Moisture also contributes to hot-tire pickup and to efflorescence beneath the film.
Outgassing
Air in concrete pores expands when the slab warms, pushing bubbles up through curing coating and leaving pinholes. It is worst when coating is applied while the slab temperature is rising.
Cure and application problems
Off-ratio mixing, applying outside temperature and dew point limits, and exceeding recoat windows lead to soft films, amine blush, intercoat delamination and poor chemical resistance.
Service mismatch
A thin roll-on epoxy cannot withstand steel-wheeled carts, hot-tire contact or thermal shock from steam cleaning. Coatings must be matched to traffic, chemicals and temperature.
Diagnosing a floor failure
- Map the failure. Photograph and sketch where it occurs — joints, traffic lanes, near doors, along slab edges or randomly.
- Examine failed chips. Concrete on the back means the slab surface was weak; a clean, smooth back points to preparation or contamination; separation between coats points to intercoat adhesion.
- Test blister contents. High pH liquid suggests moisture and alkali from the slab.
- Test moisture. Use in-situ relative humidity probes per ASTM F2170 or calcium chloride per ASTM F1869 on uncoated areas; see concrete moisture testing.
- Test adhesion. Pull-off testing per ASTM D7234 on sound areas shows whether the bond is generally poor or locally compromised.
- Review records. Preparation method, CSP, product data sheets, mix ratios, temperatures and cure times.
| Cause | Clues | How to check | Prevention |
|---|---|---|---|
| Poor surface prep | Clean, smooth back on peeled chips | Inspect chip backs; CSP comparison | Grind or shot blast to specified CSP |
| Slab moisture | Liquid-filled, high-pH blisters | ASTM F2170 / F1869, pH of liquid | Test first; moisture-mitigating primer |
| Outgassing | Pinholes, craters in first coat | Application timing vs. slab temperature | Prime when slab temperature is falling |
| Weak concrete surface | Concrete stuck to back of coating | Pull-off test, ASTM D7234 | Remove laitance; repair weak concrete |
| Hot-tire pickup | Peeling under tires only | Location, coating type, prep | Proper prep; higher-performance system |
| Cure or mixing errors | Soft, tacky or blotchy areas | Hardness, solvent rub, records | Mix correctly; respect climate limits |
Repair strategies
Local, well-defined failures such as hot-tire pickup patches or isolated blisters can be cut back to sound, well-adhered coating, the concrete prepared and the area patched with a compatible system. Widespread delamination, moisture-driven blistering or extensive pinholing usually justify full removal by grinding or shot blasting, followed by moisture remediation if indicated and a complete new system.
Before recoating over an existing floor coating, confirm it is well bonded, clean and abraded, and check compatibility with the new material. Joints and cracks should be detailed — honored, filled or treated — according to whether they are expected to move.
Repairing moisture-related blistering with the same product on the same slab almost always fails again. Measure moisture first and use a primer or system rated for the measured conditions.
Prevention checklist
- Test slab moisture and record results before choosing the system.
- Remove contaminants and laitance and achieve the CSP required by the product data sheet.
- Match the system to traffic, chemicals, temperature and cleaning regime.
- Apply within temperature, humidity and dew point limits and observe recoat windows.
- Allow full cure before traffic, especially vehicle traffic.
- Treat joints and cracks appropriately for expected movement.
Keep a few of the failed coating chips in labeled bags. The back of a chip is often the single most informative piece of evidence in a floor dispute.
Frequently asked questions
Why does my garage floor coating peel under the tires?
Hot-tire pickup usually reflects weak bonding — often from inadequate preparation — combined with heat and plasticizers from tires. Good grinding, proper primers and hot-tire-resistant systems reduce the risk. See garage floor coatings.
Can acid etching replace grinding?
Acid etching can work on some slabs for thin coatings, but it often leaves inconsistent profile and residues. Mechanical preparation is generally more reliable for industrial floors.
How dry does a slab need to be before coating?
Limits depend on the product. Manufacturers state acceptable RH or emission values on the data sheet; follow those limits and the test method they specify.
Educational reference. Coating performance varies by formulation. Always follow the manufacturer’s product data sheet, safety data sheet and your project specification.