Concrete Surface Preparation & CSP
How to prepare concrete for coatings: ICRI CSP profiles, grinding versus shot blasting, acid etching limits and how to verify the surface is ready.
Key takeaways
- Most coating failures on concrete start with the substrate: weak laitance, contamination, curing compounds, excess moisture or too little profile.
- ICRI 310.2R defines ten Concrete Surface Profiles (CSP 1–10), from nearly flat to heavily roughened. Thicker systems generally need rougher profiles.
- Mechanical methods such as grinding, shot blasting and scarifying are preferred over acid etching for most high-performance coatings.
- Before coating, confirm the surface is clean, sound, profiled to the specified CSP and dry enough. Verify by inspection, pull-off testing and moisture testing.
- SSPC-SP 13/NACE No. 6, together with ASTM D4258 and D4259, provides a framework for specifying the work.
Concrete is porous, alkaline, variable in strength and almost never truly dry. Unlike blasted steel, its top surface is often the weakest part of the slab. A floor that looks solid can be capped with a thin layer of laitance or a curing compound that a coating cannot bond through. Good preparation removes that weak, contaminated skin and exposes sound concrete with enough texture for mechanical anchorage.
The principles here apply to concrete floor coatings, secondary containment linings, wastewater structures and walls alike. The exact requirements depend on the coating system.
What preparation must achieve
- Clean: free of oil, grease, dirt, curing compounds, sealers, old coatings, efflorescence and other bond breakers.
- Sound: laitance, weak paste and deteriorated or carbonated concrete removed down to competent material.
- Profiled: roughened to a Concrete Surface Profile that suits the coating thickness and service.
- Dry enough and cured: within the moisture limits on the coating’s product data sheet. New concrete is commonly cured for at least 28 days, unless the system is designed for early application.
- Detailed: cracks, joints, bugholes and terminations treated as the specification requires.
ICRI concrete surface profiles (CSP 1–10)
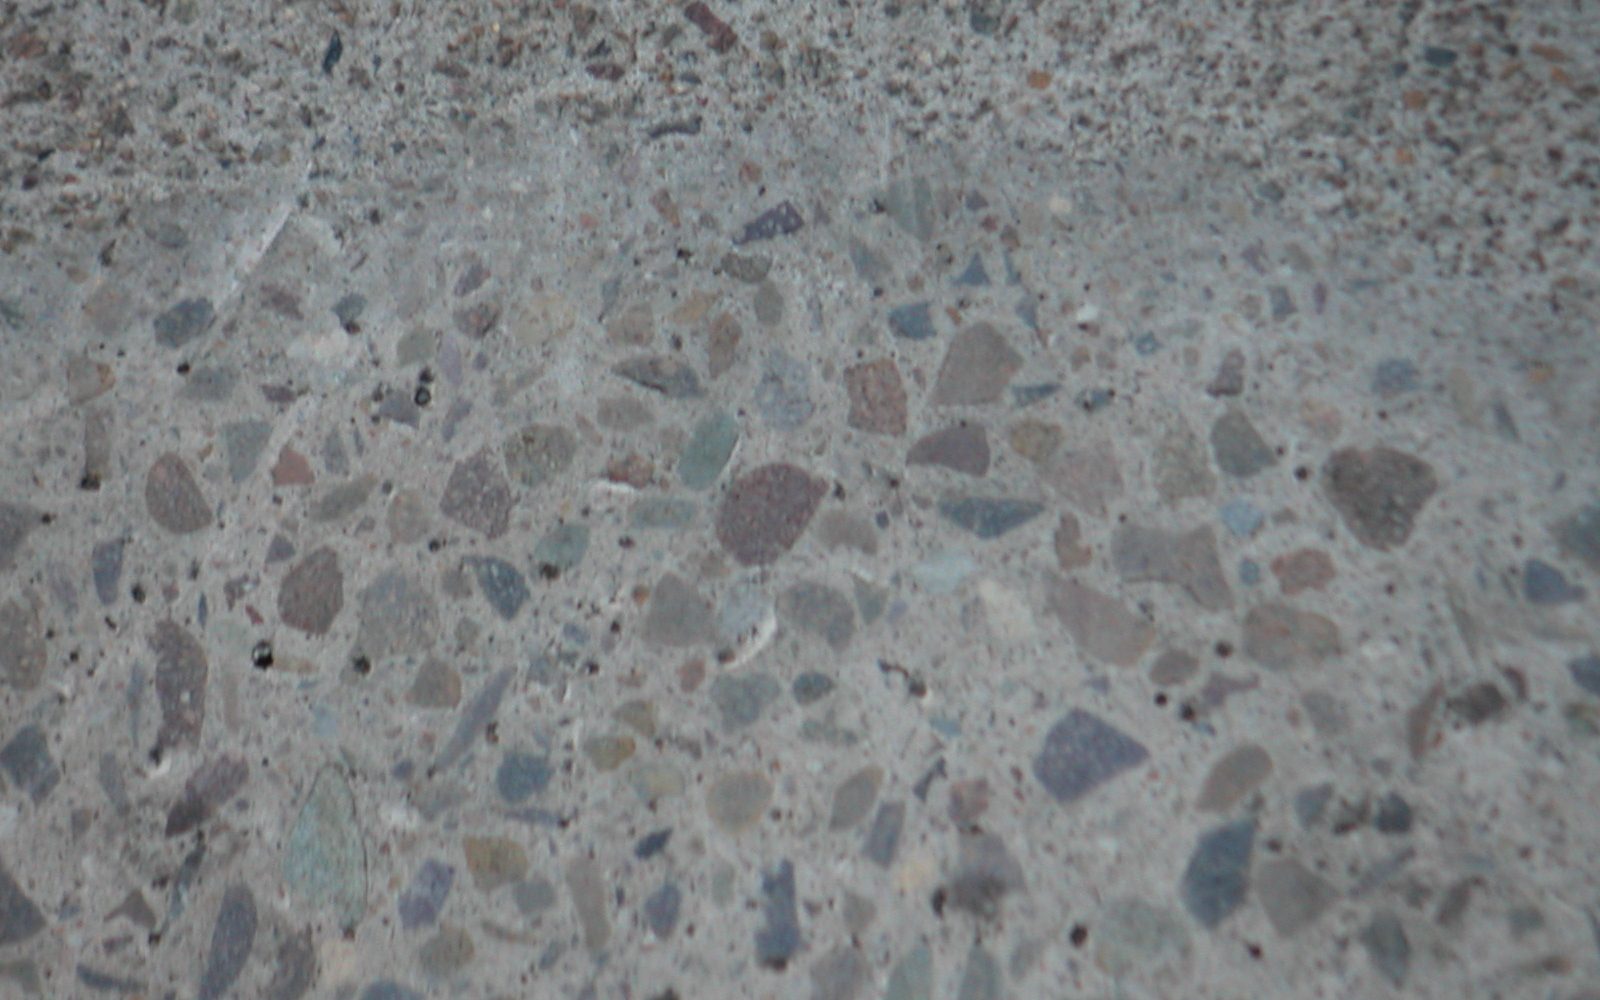
ICRI Technical Guideline 310.2R describes ten profiles, from CSP 1 (nearly flat, as from light acid etching or detergent scrubbing) to CSP 10 (very rough, as from heavy scarifying or hydrodemolition). Rubber replica chips of each profile let field crews compare their prepared surface with a physical reference. The table shows typical targets. The coating manufacturer’s product data sheet governs.
| System type | Approx. thickness | Typical CSP | Common methods |
|---|---|---|---|
| Penetrating sealers | Under ~3 mils (75 µm) | CSP 1–2 | Detergent scrubbing, light grinding |
| Thin-film coatings | ~4–10 mils (100–250 µm) | CSP 1–3 | Grinding, light shot blasting |
| High-build coatings | ~10–40 mils (0.25–1 mm) | CSP 2–4 | Shot blasting, abrasive blasting |
| Self-leveling toppings | ~50 mils–⅛ in (1.3–3 mm) | CSP 3–5 | Shot blasting |
| Broadcast and mortar systems | ~⅛–¼ in (3–6 mm) | CSP 4–6 | Shot blasting, scarifying |
| Thick overlays and repair mortars | Over ¼ in (6 mm) | CSP 5–9+ | Scarifying, scabbling, water jetting |
Concrete profile is far coarser than the mil-scale surface profile on steel, and it is judged visually against the chips, not measured with a micrometer.
Preparation methods
Diamond grinding
Planetary or rotary grinders with diamond tooling remove laitance, thin coatings and minor surface irregularities. They typically produce CSP 1–2, and somewhat more with aggressive tooling. They are well suited to thin-film systems and to edges where shot blasters cannot reach. Grinders should be used with dust shrouds and HEPA vacuum extraction.
Shot blasting
Ride-on and walk-behind machines throw steel shot at the slab and vacuum it back for reuse. By varying shot size, flow and travel speed, they produce roughly CSP 2–6. Shot blasting is fast, nearly dust-free and the workhorse for horizontal surfaces.
Scarifying and scabbling
Rotating cutters (scarifiers) or pneumatic pistons (scabblers) remove deteriorated concrete and thick coatings, leaving a coarse profile for thick overlays. They can bruise or micro-fracture the surface, which must then be removed or evaluated.
Abrasive blasting and water jetting
Dry or wet abrasive blasting profiles walls, ceilings and irregular shapes. High- and ultrahigh-pressure water jetting removes deteriorated concrete without micro-fracturing the sound material, but it adds water that must dry out before coating.
Acid etching
Advantages
- Low equipment cost
- No mechanical dust
- Can produce a light CSP 1–2 on clean, uncontaminated slabs
Limitations
- Does not remove sealers, curing compounds, oil or coatings
- Adds water and can leave acid salts if rinsing is poor
- Results vary, and the profile is often too shallow for high-build systems
- Not permitted by many coating manufacturers
Where acid etching is allowed, ASTM D4260 covers the procedure and ASTM D4262 is used to check the surface pH after rinsing.
Grinding, blasting and scarifying concrete release respirable crystalline silica. In the US, OSHA’s silica standards require engineering controls such as integrated vacuum dust collection or wet methods, plus respiratory protection where needed.
Step-by-step process
- Assess the slab. Identify coatings, sealers, curing compounds, oil, cracks, joints and repairs. A water-drop test helps: water that beads instead of soaking in points to a sealer or curing compound.
- Test moisture. Run the specified tests before committing to a system (see concrete moisture testing).
- Degrease. Remove oil and grease by detergent scrubbing or other cleaning per ASTM D4258 before mechanical work, so it is not driven into the pores.
- Profile. Abrade per ASTM D4259 to the specified CSP, using grinders at edges and shot blasters or other equipment in the field areas.
- Repair and detail. Remove unsound concrete, fill bugholes and spalls with compatible materials, treat cracks, and honor moving joints according to the system design.
- Clean. Vacuum thoroughly; do not just sweep. Residual dust is a bond breaker.
- Inspect and test. Compare the surface with the CSP chips and verify soundness, moisture and environmental conditions before priming.
Inspection and acceptance
SSPC-SP 13/NACE No. 6 lists criteria an owner can select. In practice, acceptance usually includes:
- Visual and profile check: a uniform appearance, no laitance or contaminants, and a profile matched against the specified ICRI CSP chip.
- Surface tensile strength: pull-off testing per ASTM D7234, either on the prepared concrete or on a test patch of the coating. A commonly specified minimum is in the region of 200 psi (1.4 MPa), and failure should be cohesive within the concrete. Confirm the project value. See adhesion testing.
- Moisture: results from ASTM F2170 or F1869 within the product data sheet limits.
- Cleanliness and pH: no residual dust; pH checked after any chemical treatment.
Prepare and coat a small mock-up area first, then pull-test it once cured. It confirms the CSP, the primer and the slab’s surface strength before you commit the whole floor.
Frequently asked questions
Can I coat new concrete right away?
Usually not. Most coatings call for concrete cured for about 28 days and tested for moisture. Some systems are formulated for early or “green” concrete; follow the product data sheet.
Is grinding or shot blasting better?
Neither is universally better. Grinding gives a smoother CSP 1–2 suited to thin films and edges. Shot blasting gives a more open CSP 2–6 profile that suits high-build and broadcast systems. Many jobs use both.
Why did my coating peel off with a thin layer of concrete attached?
That is a sign the coating bonded to weak laitance or carbonated surface paste. Removing that layer during preparation, and confirming strength by pull-off testing, prevents this failure.
Do I need to remove an old floor coating?
Not always. Sound, compatible coatings can sometimes be abraded and recoated. Coatings that are failing, incompatible or of unknown composition should be removed, and a test patch should confirm adhesion.
Educational reference. Coating performance varies by formulation. Always follow the manufacturer’s product data sheet, safety data sheet and your project specification.