Trowel & Squeegee Floor Application
How notched squeegees, gauge rakes and trowels place resinous floor coatings, self-levelers and mortars at controlled thickness — and how to finish them cleanly.
Key takeaways
- Squeegees and gauge rakes place liquid and self-leveling coatings; trowels place heavily filled mortars and screeds.
- Thickness is controlled by tool setting (notch size or pin depth) and by checking spread rate — the area covered per mixed kit.
- Work to a strict rhythm: mix, pour, spread, back-roll, de-aerate, and keep a wet edge before the material starts to gel.
- Most floor defects attributed to “bad product” come from poor slab preparation, wrong temperature or inconsistent spreading.
Most thick resinous floors — epoxy, polyurethane, MMA and urethane cement systems — are not sprayed or rolled on. They are poured onto the slab and spread with hand tools that meter the thickness. The installer’s skill with a notched squeegee, gauge rake or finishing trowel largely determines whether the floor is flat, uniform in thickness and free of trowel marks, voids and bubbles.
This article covers the tools and technique. For choosing a floor system and the full installation sequence, see concrete floor coatings.
Matching tools to floor systems
Floor systems span a wide thickness range, and each band calls for a different tool.
| System | Typical thickness | Primary tool | Finishing tool |
|---|---|---|---|
| Thin-film roll coats and seal coats | 8–20 mils (0.2–0.5 mm) per coat | Flat or notched squeegee | Roller (back-roll) |
| Broadcast body coats | Varies by system | Notched squeegee | Roller, then aggregate broadcast |
| Self-leveling (slurry) coatings | ~1/16–3/16 in (1.5–5 mm) | Gauge rake or notched squeegee | Spiked roller |
| Urethane cement slurry | ~3/16–⅜ in (5–10 mm) | Gauge rake | Spiked roller or finishing trowel |
| Trowelled epoxy or urethane mortar | ~¼ in (6 mm) and up | Screed box or screed rails | Hand or power trowel |
Thickness ranges vary between manufacturers; always use the values on the system’s product data sheet.
Notched squeegees and gauge rakes
A notched squeegee is a rubber blade with V, square or U-shaped notches. As the blade is pulled, the notches leave ridges of coating that flow together into a film. Notch depth and spacing set how much material stays behind. Blades wear, so check them regularly — a rounded notch deposits less material than a sharp one.
A gauge rake (pin rake) has adjustable pins that ride on the substrate and set the height of a flat blade above it. Because the pins physically set the gap, gauge rakes give more consistent thickness for self-leveling systems than a squeegee. Pin tips wear and must be reset to the target thickness before each job.
Neither tool guarantees thickness on its own. Hand pressure, blade angle, material temperature and slab flatness all change what is deposited, so the true control is spread rate: a mixed kit of known volume should cover a known area. Snap chalk lines or mark grids so each batch is placed within its assigned area.
Calculate the theoretical area per kit before the pour (the coverage calculator helps), then mark it out on the slab. If a kit runs out early or has material left over, adjust the tool immediately rather than waiting for the next section.
Trowelling mortar and screed systems
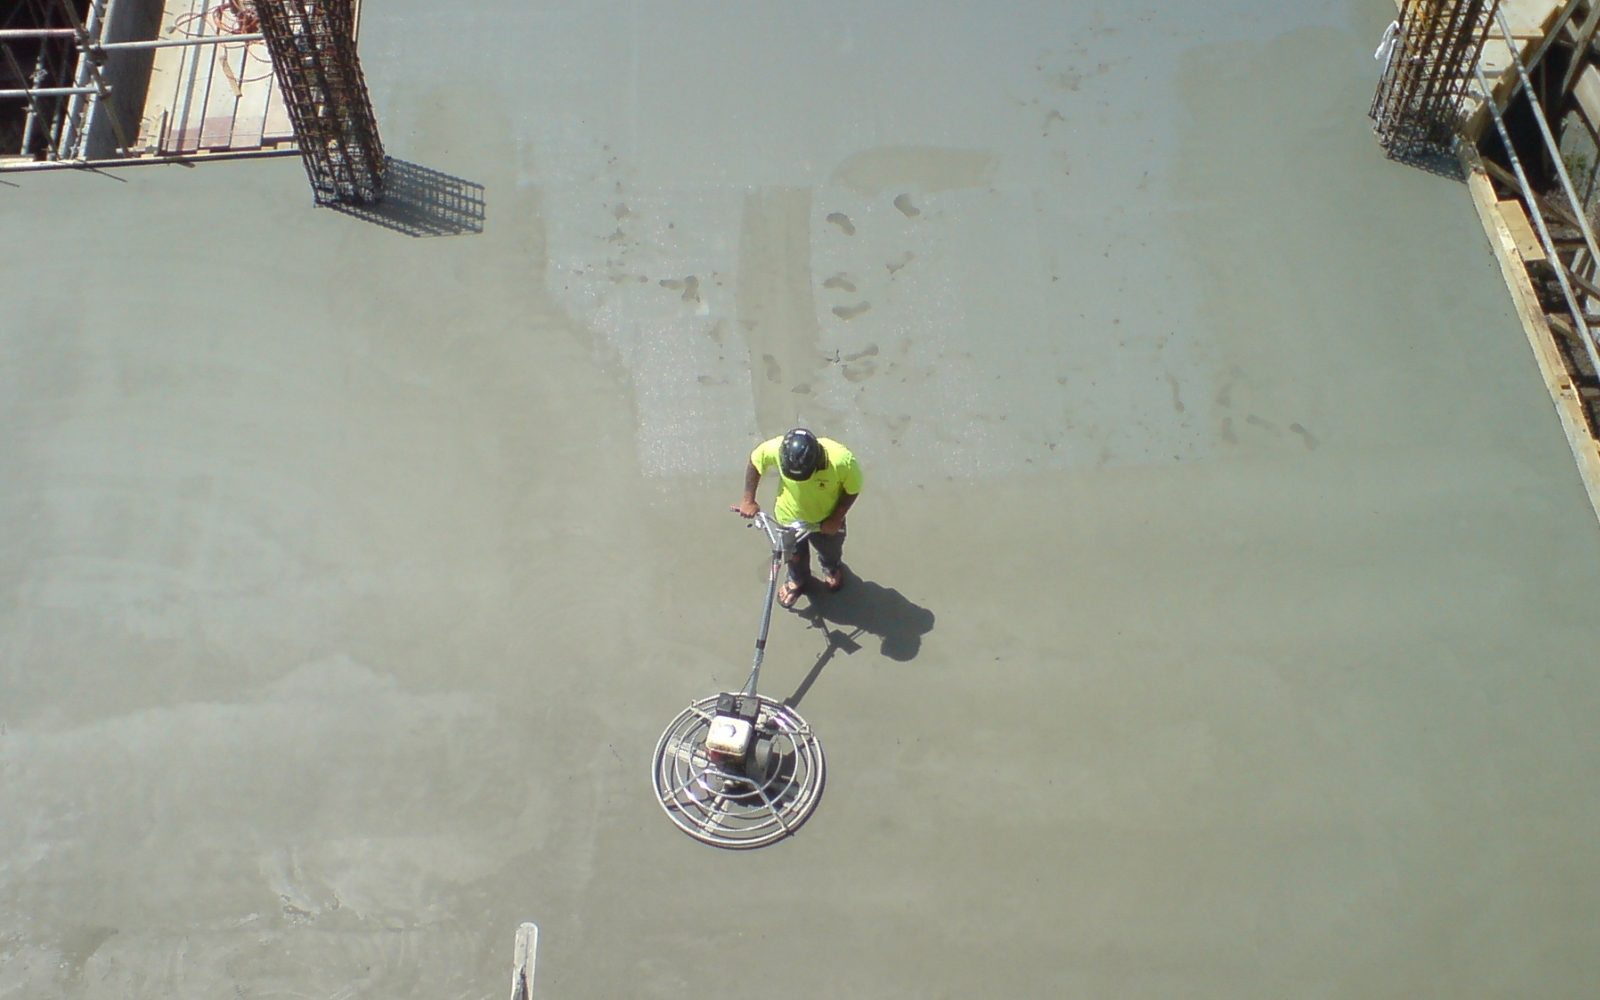
Heavily filled epoxy and polyurethane mortars do not flow. They are placed with a screed box or between screed rails to set thickness, then compacted and closed with steel trowels. Large areas may be finished with a power trowel fitted with suitable blades. Compaction matters: an open, porous mortar will absorb the grout or seal coat unevenly and can trap contaminants in service.
Trowel technique is close to traditional concrete finishing. Keep trowels clean and lightly wetted with the solvent or release agent the manufacturer permits, hold a consistent angle and avoid overworking, which can bring resin to the surface and leave a blotchy finish.
Placement sequence on the floor
- Confirm conditions. Check slab and air temperature, dew point and slab moisture before mixing; see environmental conditions for coating.
- Mix completely. Use a low-speed drill and paddle, scrape the container, and follow the specified mix time. Add fillers or aggregates gradually. See mixing, induction time and pot life.
- Pour in a ribbon. Dump mixed material in a line along the work area immediately; material left in the bucket heats up and shortens working time.
- Spread to the marks. Pull the squeegee or rake through the ribbon, covering the marked area with consistent pressure and overlap.
- Back-roll or de-aerate. Back-roll thin systems to remove squeegee lines; run a spiked roller through self-levelers to release trapped air.
- Keep a wet edge. Tie each new batch into the still-liquid edge of the last so no visible seam forms.
- Protect the cure. Keep traffic, dust and temperature swings away until the system reaches the cure stated on the data sheet.
On a rising slab temperature, air in the concrete expands and can push through a fresh coating as bubbles and pinholes. Where practical, place coatings while the slab is stable or cooling, and use a primer to seal porous concrete (see pinholes and outgassing).
Crew roles and workflow
Production flooring is a team sport. A typical crew has a mixer who controls batching and timing, one or two spreaders on squeegees or rakes, and a finisher who back-rolls, spikes or trowels behind them. Spiked shoes let the spreaders and finisher walk on wet self-leveling material without leaving marks.
Plan the layout so the crew works away from the exit and toward a planned stopping point at a wall, joint or tape line. Mid-floor stops are where visible lap lines and thickness changes usually appear.
Advantages and limitations
Advantages
- Places thick, heavily filled systems that cannot be sprayed
- Good thickness control with gauge rakes and marked areas
- Low equipment cost and no overspray
- Produces flat, seamless, monolithic floors
Limitations
- Highly dependent on crew skill and coordination
- Short working times with fast-curing chemistries
- Self-levelers will follow slab slope and can pond or run
- Labor-intensive on very large areas
Frequently asked questions
Squeegee or gauge rake — which is better?
For thin coats, a notched squeegee followed by back-rolling is common. For self-leveling slurries, a gauge rake gives more consistent thickness because the pins set the gap above the substrate.
How do I know I applied the right thickness?
Track spread rate per kit against the marked area, and use a wet film gauge on thin coats. Thick self-levelers are verified mainly by spread rate.
What causes trowel marks in a mortar floor?
Overworking, dirty trowels, trowelling too late as the material stiffens and inconsistent blade angle. A grout or seal coat will not fully hide heavy marks.
Can self-leveling coatings correct an uneven slab?
Only slightly. They follow slope and fill minor dips, but significant unevenness should be corrected with patching or grinding during surface preparation.
Educational reference. Coating performance varies by formulation. Always follow the manufacturer’s product data sheet, safety data sheet and your project specification.