Brush & Roller Application
When and how to apply protective coatings by brush and roller — from stripe coating welds to choosing nap length and hitting the specified film build.
Key takeaways
- Brush and roller application wastes very little material, needs minimal equipment and works where overspray is unacceptable.
- It is essential for stripe coating edges, welds and bolts, for touch-up, and for back-rolling sprayed coatings into porous surfaces.
- Film build per coat is usually lower and less uniform than spray, so frequent wet-film checks and sometimes extra coats are needed.
- Match the brush bristle and roller cover to the coating chemistry and the surface texture — the wrong tool causes shedding, poor flow and thin spots.
Brushes and rollers are the oldest coating tools and remain indispensable on modern protective coating projects. Even on jobs that are mostly sprayed, crews rely on brushes to stripe coat edges and welds, and on rollers to coat areas where overspray would damage nearby equipment, vehicles or finished surfaces. On many concrete floors and smaller maintenance projects, brush and roller is the primary method.
The method is simple, but doing it to a specification is not. Achieving the required dry film thickness (DFT), avoiding holidays on rough surfaces and keeping a wet edge with fast-curing two-component products all take skill and the right tools.
When to use brush and roller
- Stripe coating. Spray films pull thin at sharp edges, corners, welds, bolt heads and back-to-back angles. Brushing an extra “stripe” coat on these areas before or between full coats is a widely specified practice on steel structures and immersion linings.
- Overspray-sensitive areas. Occupied facilities, parking areas, food plants and work near vehicles or sensitive equipment.
- Small areas and touch-up. Repairs, damaged areas after erection, and maintenance spot-painting.
- Back-rolling. Rolling a freshly sprayed coat to work it into porous concrete, masonry or block and close pinholes.
- Floors. Many concrete floor coatings are applied by squeegee and back-roll.
Not every product is suitable. Some coatings — notably many inorganic zinc-rich primers — are generally limited to spray, with brushing allowed only for small touch-up. The product data sheet (PDS) states which application methods are approved.
Choosing brushes
Brush selection depends mainly on the coating’s carrier and viscosity:
- Natural bristle (often hog or “china” bristle) holds and releases solvent-borne coatings well and is the traditional choice for alkyds, oil-based paints and many solvent-borne epoxies and urethanes. Natural bristle absorbs water and goes limp in waterborne coatings.
- Synthetic bristle (nylon, polyester or blends) keeps its stiffness in water and is the standard for waterborne acrylics and latex coatings. Many synthetic brushes are also rated for solvent-borne products.
- Stripe and specialty brushes — round or oval brushes, and short stiff brushes — help push coating into weld seams, bolt threads and corners.
Disposable chip brushes are acceptable for small touch-ups, but loose bristles left in a film are defects in themselves and can create paths for corrosion.
Choosing roller covers
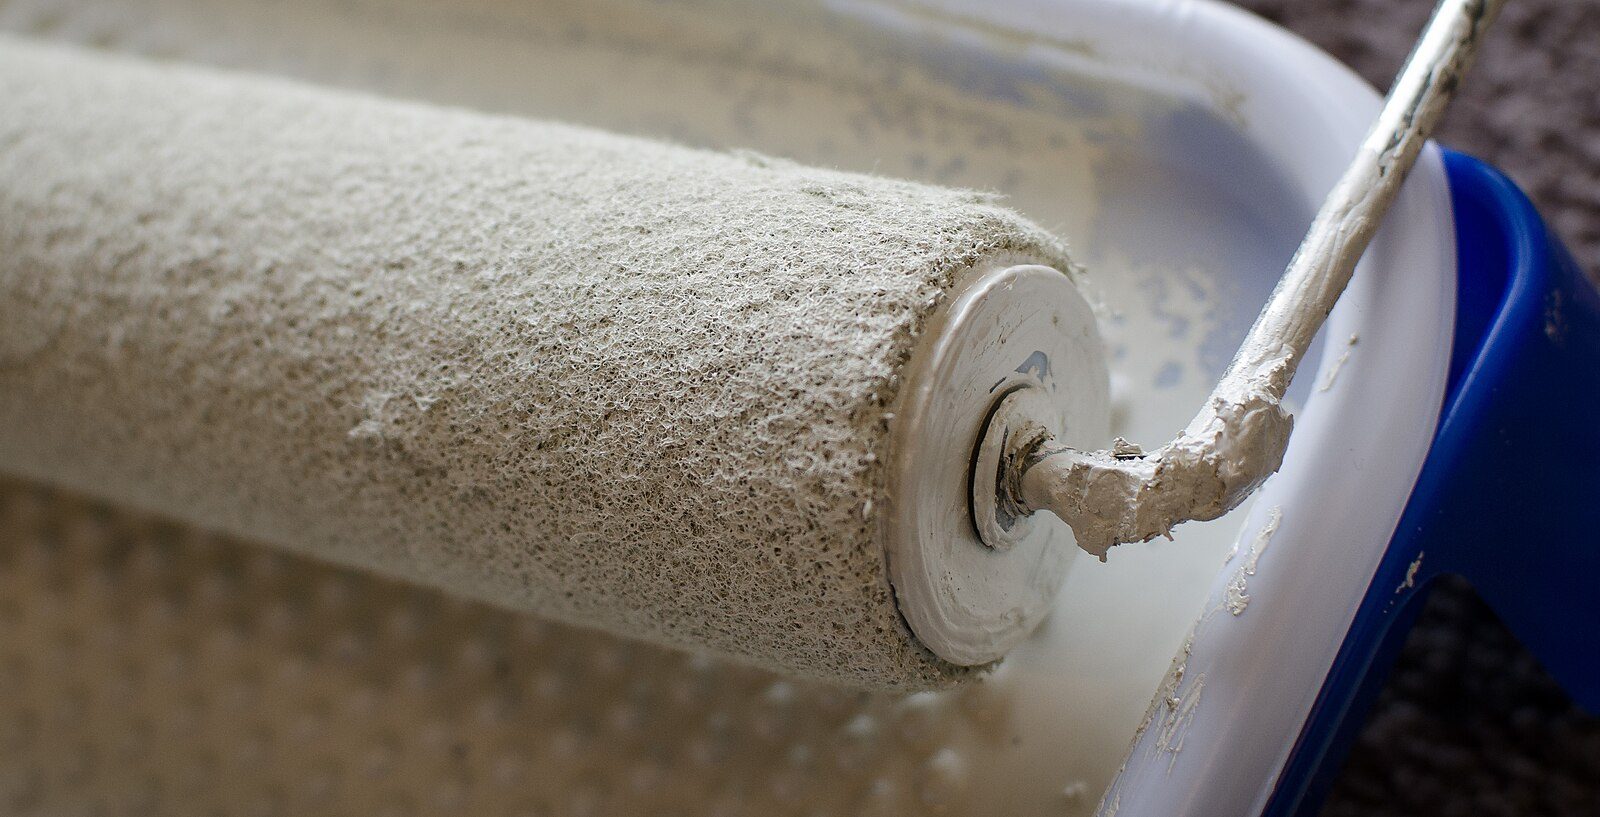
The roller cover’s nap length should match the surface texture: the rougher the surface, the longer the nap needed to reach into it. Short naps give smoother finishes and less stipple on smooth surfaces.
| Nap length | Surface type | Typical uses |
|---|---|---|
| 3/16–1/4 in (5–6 mm) | Very smooth | Smooth metal, doors, high-gloss finishes |
| 3/8 in (10 mm) | Smooth to light texture | Primed steel, smooth concrete, most floor coatings |
| 1/2 in (13 mm) | Light to medium texture | Drywall, smooth masonry, light concrete texture |
| 3/4 in (19 mm) | Rough | Concrete block, rough concrete, stucco |
| 1–1¼ in (25–32 mm) | Very rough | Split-face block, very rough masonry |
For solvent-borne epoxies and urethanes, choose covers with solvent-resistant (often phenolic) cores and lint-free or shed-resistant fabrics. Mohair or fine microfiber covers are often chosen for gloss enamels. Pre-wrap new covers with masking tape and peel it off to remove loose fibers before use.
Two-component products with short pot lives last longer when spread out than when left in a deep bucket, because the curing reaction generates heat that accelerates itself in a mass. Floor applicators often pour mixed material onto the floor in a ribbon and spread it promptly, rather than working from the pail.
Technique and film build
Brush and roller films are typically thinner per coat than spray films, and they vary more across the surface. Some high-build coatings simply cannot reach their specified thickness in one brushed or rolled coat, so an extra coat may be needed. Check with the coating manufacturer, because adding coats affects recoat windows and project schedules.
- Calculate the spread rate. Work out how much area each unit of coating should cover to achieve the target wet film thickness (WFT). The coverage calculator helps, and volume solids and coverage explains the math.
- Lay out the work. Divide large areas into sections sized to the volume in each kit, so you can tell whether coverage is on target as you go.
- Load the tool evenly. Dip a brush about one-third of its bristle length; load a roller fully on the tray or grid and roll off the excess.
- Apply and distribute. Roll in overlapping “W” or “M” patterns, then lay off in one direction with light, parallel strokes. Brush first into corners and welds, then lay off.
- Keep a wet edge. Always work back into wet coating to avoid lap marks, and plan breaks at natural boundaries such as joints or corners.
- Measure WFT often. Use a notch gauge per ASTM D4414 and adjust spread rate. Confirm final DFT using appropriate methods described in dry film thickness measurement.
Advantages and limitations
Advantages
- Very high transfer efficiency — little material lost to overspray.
- Low equipment cost and fast setup and cleanup.
- Good wetting and penetration into edges, welds and porous surfaces.
- Safe for use near people, vehicles and sensitive equipment.
Limitations
- Slow production on large areas and labor-intensive.
- Lower, less uniform film build per coat; more coats may be required.
- Brush marks, roller stipple and lap marks affect appearance.
- Not approved for some products, such as many inorganic zinc primers.
Over-rolling or over-brushing a coating that has started to set drags it, leaves texture and can introduce air bubbles. Over-thinning to make brushing easier lowers volume solids, which reduces DFT and may push VOC content above legal limits. Follow the thinning allowance on the PDS.
Frequently asked questions
Why does a specification require stripe coating by brush?
Coatings tend to pull away from sharp edges as they cure, and spray often misses or underfills weld seams, bolt threads and crevices. Brushing an extra coat on these areas improves coverage and edge protection, where corrosion commonly starts.
Can I roll a coating that is designed for spray?
Only if the manufacturer permits it. Some high-build coatings can be rolled with reduced film build per coat, while others, such as many inorganic zinc primers, are restricted to spray except for touch-up. Check the product data sheet.
What causes roller stipple and how do I reduce it?
Stipple is the texture left by the roller nap. A shorter nap, a higher-quality cover, proper loading and a final light lay-off pass in one direction reduce it, as does working within the coating’s open time.
What is back-rolling?
Back-rolling means spraying a coating and immediately rolling it while wet. It works the material into porous surfaces such as concrete and block, fills pinholes and evens out the film, and is often specified for masonry and floor systems.
Educational reference. Coating performance varies by formulation. Always follow the manufacturer’s product data sheet, safety data sheet and your project specification.