Diamond Grinding Concrete
Diamond grinding abrades concrete with rotating diamond tooling to remove laitance, sealers and old coatings and leave a flat, uniform surface for thin and medium-build coatings.
Key takeaways
- Diamond grinding uses rotating heads fitted with diamond segments to abrade the top of a slab, removing laitance, sealers and many coatings.
- It typically produces a light profile of about ICRI CSP 1–3, ideal for sealers, thin-film and medium-build coatings.
- Tooling must suit the concrete: soft-bond segments for hard concrete, hard-bond segments for soft or abrasive concrete, and PCD tooling for thick or gummy coatings.
- Grinding generates respirable crystalline silica, so shrouded grinders and HEPA dust extraction are essential.
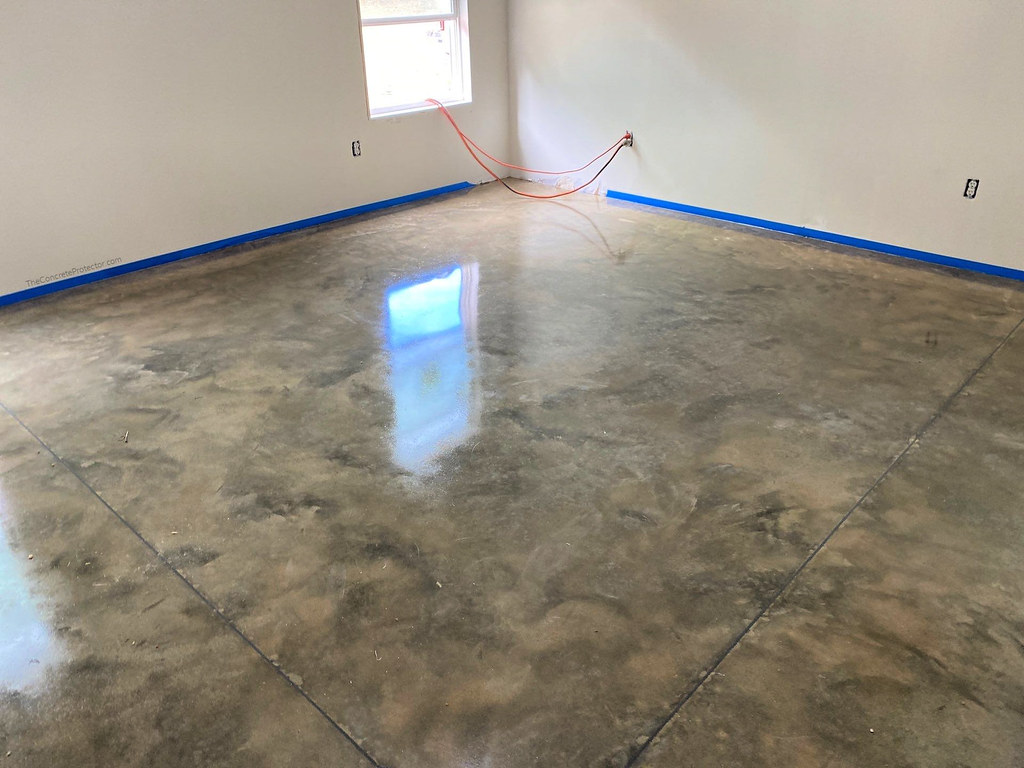
Diamond grinding is the most common way to prepare concrete floors for thin and medium-build coatings. Industrial-diamond segments, bonded into a metal or resin matrix, are mounted on rotating heads and drawn across the slab. They scratch away the weak surface paste, contaminants and old films, leaving a sound, open surface with a fine, uniform texture.
Compared with shot blasting, grinding is slower on wide open areas but produces a flatter finish, works right up to walls with edge grinders, and handles uneven or very hard slabs well. For how grinding fits among all concrete methods, see concrete surface preparation and CSP.
Grinding equipment
Floor grinders fall into a few broad families:
- Planetary grinders carry three or four small heads on a larger carrier plate that rotates in the opposite direction. The combined motion gives an even scratch pattern and is the most common configuration for coating preparation.
- Single- and dual-disc grinders are simpler machines, useful for smaller jobs, but more prone to swirl marks.
- Hand-held grinders (typically 5–7 in or 125–180 mm) with dust shrouds finish edges, corners, stairs and around fixtures.
Machine weight matters as much as horsepower. Heavier machines put more pressure on each segment, cut faster and stay flatter, while lighter units are easier to move between floors and suit thin removal.
Diamond tooling and bond selection
The diamond segment is a sintered mix of diamond grit and a metal bond. As it cuts, the bond wears away to expose fresh diamond. Selecting the right bond is the single biggest factor in production rate and tool life:
| Tooling | Use | Notes |
|---|---|---|
| Soft-bond metal segments | Hard, dense concrete | Bond wears quickly to expose new diamond; glazes less on hard slabs |
| Medium-bond metal segments | Average concrete | General-purpose choice for most slabs |
| Hard-bond metal segments | Soft or abrasive concrete, sandy surfaces | Resists rapid wear; can glaze on hard concrete |
| Coarse grits (roughly 16–30 grit) | Coating preparation, heavy removal | Leaves the more open scratch pattern that most coatings want |
| PCD (polycrystalline diamond) | Thick coatings, mastics, adhesives, elastomers | Scrapes rather than grinds; leaves a rough surface that may need a follow-up pass |
| Resin-bond pads | Polishing and honing | Not used for coating prep; smooth surfaces reduce adhesion |
The rule of thumb is counter-intuitive: hard concrete needs a soft bond and soft concrete needs a hard bond. A bond that is too hard for the slab stops exposing new diamond and glazes; a bond too soft for the slab wears out rapidly.
If production suddenly drops and the segments look shiny, they have glazed. Dressing them on an abrasive block, adding slight weight, or switching to a softer bond usually restores cutting. Grinding glazed segments longer just polishes the floor.
What profile grinding produces
ICRI 310.2R places grinding at the light end of the concrete surface profile scale, generally CSP 1–2, with aggressive coarse tooling or PCD reaching around CSP 3. That suits:
- Penetrating sealers, densifier-based systems and thin-film epoxies or urethanes, roughly 3–10 mils (75–250 µm).
- Many medium-build epoxy and polyaspartic floor systems, which commonly specify CSP 2–3.
- Pre-levelling uneven slabs, high joints and trowel marks before thicker systems.
Thicker mortars, self-levelling toppings and overlays usually specify CSP 4 or higher, which generally calls for shot blasting, scarifying or another aggressive method. Always confirm the required profile on the coating’s product data sheet. ASTM D4259 describes general practices for abrading concrete before coating and can be referenced in specifications.
Grinding procedure
- Inspect the slab. Note coatings, sealers, oil stains, cracks, joints and soft or dusty areas. Check moisture as required by the coating system (see concrete moisture testing).
- Remove heavy films. Scrape or use PCD tooling to strip thick coatings, mastic and adhesive before metal-bond grinding.
- Select tooling. Choose bond and grit based on a test area. Confirm the machine and dust extractor are matched.
- Grind the field. Work in overlapping passes at a steady pace. Many contractors make a second pass at 90° to the first for an even scratch pattern.
- Grind edges and details. Use shrouded hand grinders along walls, around columns and in corners to match the field.
- Vacuum and inspect. Remove all dust with an industrial HEPA vacuum, then check for remaining coating, sealer, glazed areas and uniformity.
Advantages and limitations
Advantages
- Produces a flat, uniform surface with few telegraphing marks.
- Reaches edges and corners that blast machines miss.
- Can level high spots, lippage at joints and trowel ridges.
- Dry process with immediate access for coating once vacuumed.
- Smaller, lighter machines fit through doors, onto lifts and into occupied buildings.
Limitations
- Slower than shot blasting on large, open areas.
- Limited profile depth; usually unsuitable alone for thick overlays.
- Wrong tooling can glaze or burnish the surface, which hurts adhesion.
- Thick elastic coatings can gum up metal-bond segments.
- Tooling wear is a significant running cost on abrasive slabs.
Dust control and safety
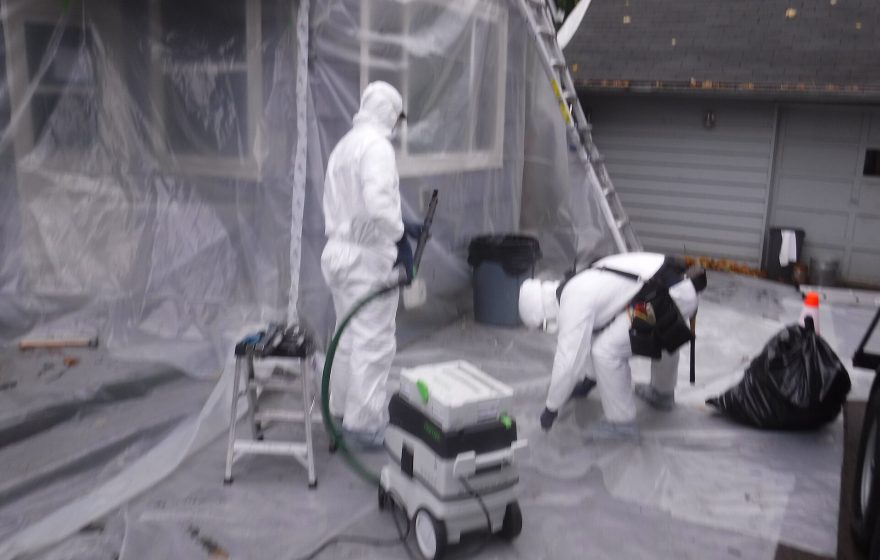
Grinding concrete releases respirable crystalline silica. In the United States, OSHA 29 CFR 1926.1153 applies to construction; its Table 1 lists engineering controls and respiratory protection for some grinding tasks, provided the equipment and work conditions match. Follow your employer’s exposure control plan and the equipment manufacturer’s instructions, and use shrouds connected to properly sized HEPA-filtered extractors (see crystalline silica and abrasive blasting).
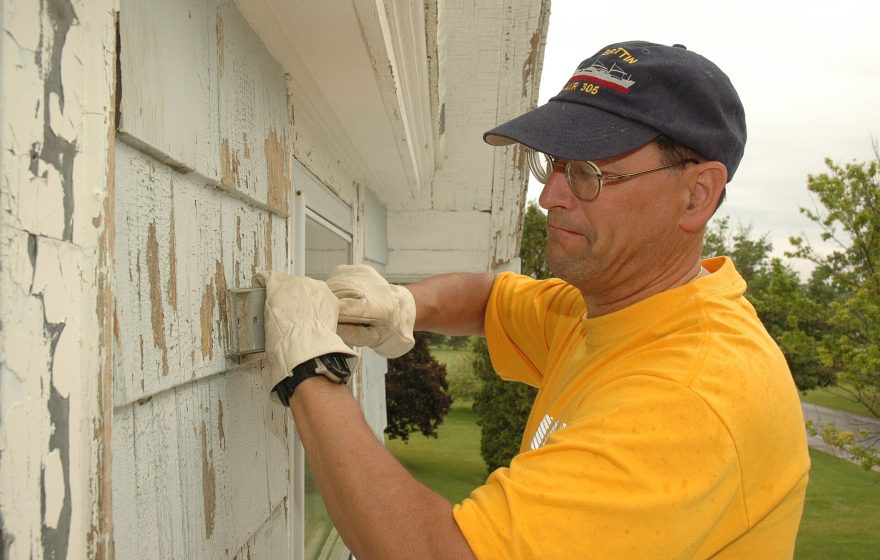
Grinding through old coatings can release hazardous dust. Test unknown floor coatings for lead and other hazardous components before removal, and do not assume a newer-looking floor is free of them.
Other hazards include flying fragments from broken segments, noise, vibration, trailing cords and, with propane machines, carbon monoxide in enclosed areas.
Frequently asked questions
What grit should I use to prepare concrete for epoxy?
Coating preparation commonly uses coarse metal-bond tooling, roughly in the 16–30 grit range, to leave an open scratch pattern. Finer grits are for honing and polishing and can leave the surface too smooth for good adhesion.
Is wet or dry grinding better?
Dry grinding with HEPA extraction is most common for coating work because the floor is ready immediately. Wet grinding controls dust and keeps tooling cool but leaves slurry to collect and adds moisture that must dry before coating.
Can grinding remove an old epoxy floor?
Yes. Thin coatings grind off with metal-bond tooling; thicker or softer coatings are usually stripped first with PCD tooling, followed by a metal-bond pass to even out the profile.
How do I know the floor is ground enough?
All sealers, coatings and laitance should be gone, the surface should be uniformly dull and textured, water should absorb rather than bead, and the profile should match the specified ICRI CSP chip.
Educational reference. Coating performance varies by formulation. Always follow the manufacturer’s product data sheet, safety data sheet and your project specification.