Delamination & Adhesion Failure
How to tell adhesive, intercoat and cohesive failures apart, find the cause from the evidence left behind, and repair and prevent peeling coatings.
Key takeaways
- Delamination is a loss of adhesion between a coating and its substrate (adhesive failure) or between coats (intercoat failure); a split within one coat is cohesive failure.
- Most cases trace to surface contamination, inadequate profile, an exceeded recoat window or incompatible materials — not to the coating chemistry itself.
- The back of a delaminated flake and the surface it left behind usually reveal the cause; pull-off and tape tests quantify how widespread the problem is.
- Repairs must remove all disbonded coating and correct the interface condition, or new coating will fail on the same plane.
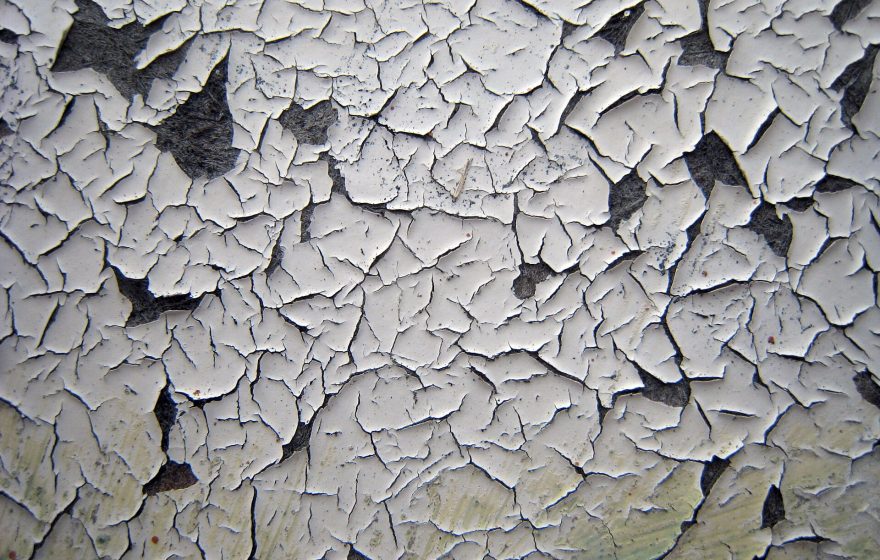
Delamination is the separation of a coating film from the surface it was applied to, whether that surface is steel, concrete, galvanizing or a previous coat. It ranges from small flakes at edges to entire sheets of lining peeling away. Unlike most other failures, it can occur within hours of application or many years into service.
Because a coating can only perform while it is attached, delamination is one of the most consequential failures: once the bond is lost, the substrate is exposed to corrosion, moisture or chemical attack beneath a film that may still look intact.
What delamination looks like
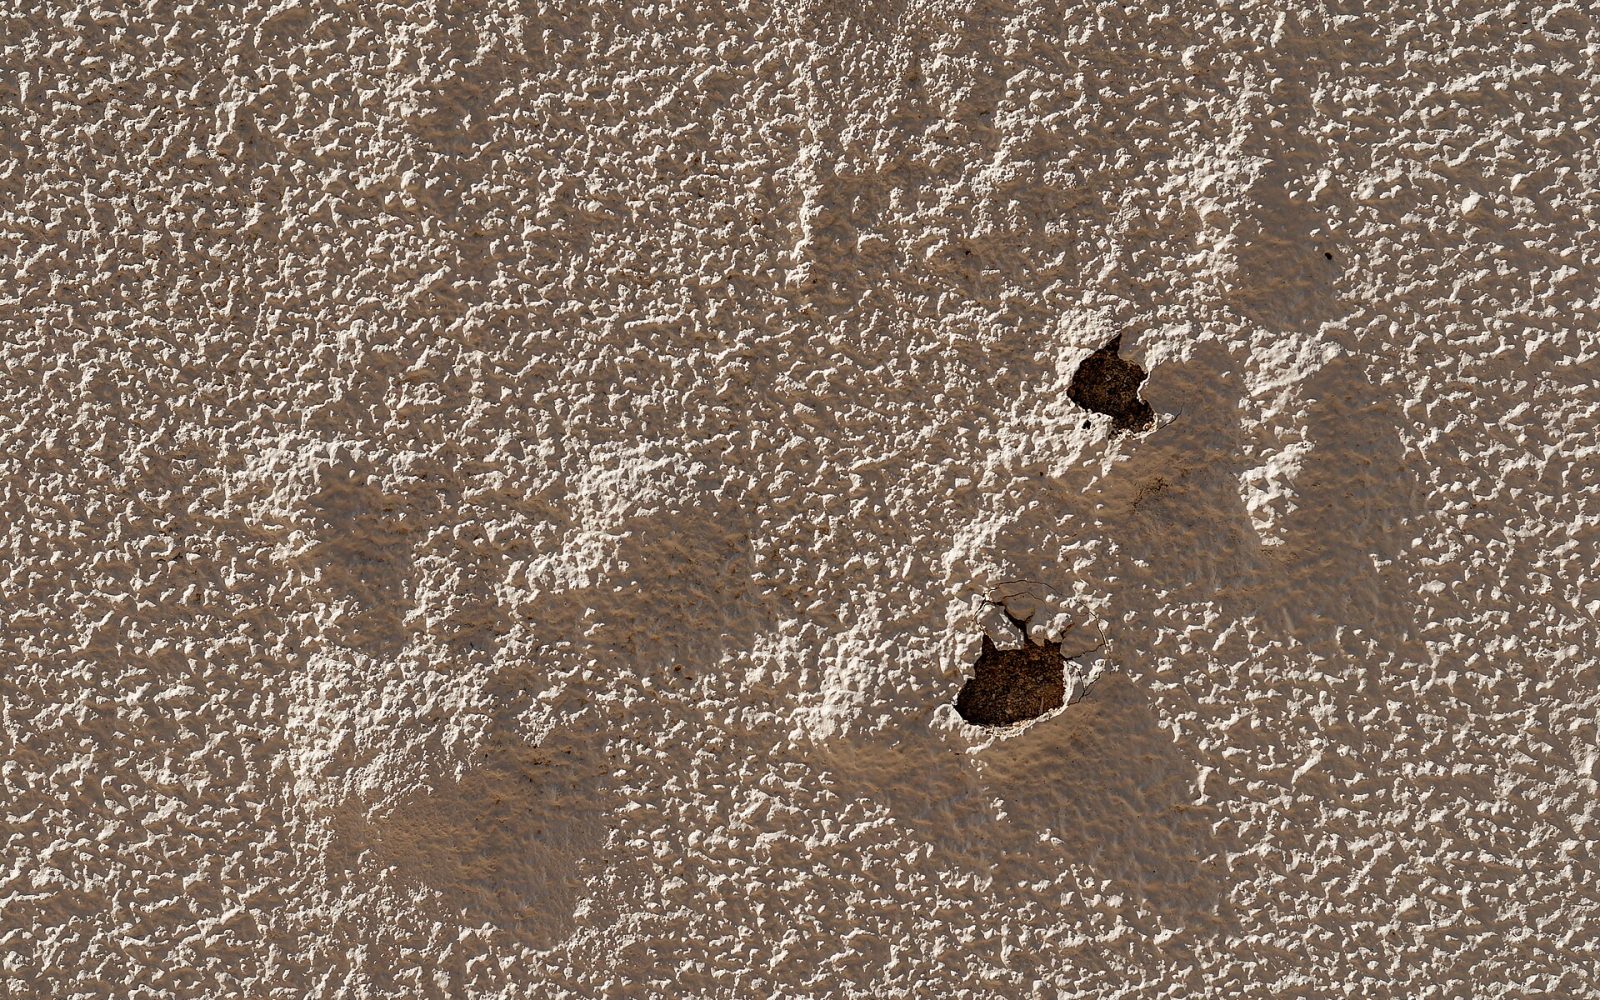
Visible signs include peeling, flaking, lifting at edges and cracks that curl upward. Thick films such as polyurea or epoxy floor systems may stay intact while disbonded, sounding hollow when tapped. The plane of failure defines the type:
- Adhesive failure at the substrate — bare steel, concrete or galvanizing is exposed beneath the lifted film.
- Intercoat delamination — a topcoat or intermediate coat peels cleanly from an intact coat below.
- Cohesive failure — the coating, or the substrate surface itself (for example weak concrete laitance), splits internally, leaving the same material on both faces.
Severity of flaking can be recorded using ISO 4628-5, and adhesion around artificial defects by ISO 4628-8.
Root causes of delamination
Surface contamination
Oil, grease, silicone, mold-release agents, dust, blast residue and soluble salts all interfere with wetting and bonding. Abrasive blasting over oil smears it rather than removing it, which is why solvent cleaning (SSPC-SP 1) precedes blasting.
Inadequate surface profile or preparation
Smooth, glossy or under-profiled surfaces offer little mechanical anchorage, especially for high-build or high-shrinkage coatings. Intact mill scale, rust and old, poorly bonded paint left in place create a weak layer that fails beneath an otherwise sound coating. See surface profile for how anchor pattern is specified and measured.
Exceeded recoat window
Many epoxies and polyurethanes have a maximum recoat interval. Beyond it the lower coat is too fully cured for the next coat to bond chemically, and it typically needs abrasion and cleaning first. A classic intercoat failure is a polyurethane topcoat peeling from an epoxy that was left too long, sometimes after UV exposure has chalked its surface.
Amine blush and chalk
Water-soluble amine blush on epoxies and loose chalk on weathered coatings act as bond-breaking layers between coats. Both must be removed before overcoating.
Incompatible materials
Strong solvents in a new coat can lift or wrinkle a weaker existing coating such as an alkyd. Alkyds applied directly to galvanizing can lose adhesion as the zinc reacts with the oil-based binder (saponification). Always confirm compatibility with the manufacturer and a test patch.
Internal stress and moisture
Excessive film thickness, high-shrinkage chemistries and repeated thermal cycling build stress at the interface. On concrete, moisture vapor, weak laitance and inadequate concrete surface preparation are common causes, and condensation on a surface between coats can prevent the next coat from bonding.
How to diagnose delamination
- Map the extent. Record location, area and pattern — edges, welds, splash zones, cold areas or areas coated on a particular day.
- Examine both faces. Inspect the back of loose flakes and the exposed surface with a 10× magnifier. A replica of the blast profile on the back indicates good contact; mill scale, rust, dust, a glossy face or a waxy film points to the cause.
- Probe the boundary. Use a knife (ASTM D6677) or tape test (ASTM D3359) to find where poor adhesion ends. Method A (X-cut) is generally used for films thicker than 5 mils (125 µm); Method B (cross-cut) for thinner films.
- Quantify adhesion. Perform pull-off tests with ASTM D4541 or ISO 4624 on steel, or ASTM D7234 on concrete, and record the failure location as percentages of adhesive, cohesive and glue failure, not just the stress value.
- Check the substrate. Measure profile (ASTM D4417), test for soluble salts, and on concrete check moisture and surface strength.
- Test for contamination. A water-break test reveals hydrophobic films; laboratory FTIR of flake undersides can identify oils, silicones or blush residues.
- Review records. Compare actual recoat intervals, dew point conditions and products against the specification and data sheets.
The failure mode of a pull-off test is often more informative than the number. A high value with cohesive failure in the substrate tells a very different story from the same value failing cleanly at the primer interface. See adhesion testing for how to report results.
Causes, diagnostic clues and prevention
| Cause | Typical clues | Confirming check | Prevention |
|---|---|---|---|
| Oil, grease or silicone | Clean, smooth flake backs; fisheyes or crawling at application | Water-break test; FTIR of flake underside | SSPC-SP 1 solvent cleaning before blasting |
| Low or no profile | Flake back smooth; no profile replica | Profile per ASTM D4417 | Specify and verify profile per data sheet |
| Mill scale or weak old coating | Scale or old paint on back of flake | Visual; knife test | Prepare to the specified SSPC/ISO grade |
| Exceeded recoat window | Topcoat peels cleanly from glossy lower coat | Application records; intercoat pull-off | Recoat within window or abrade first |
| Amine blush or chalk | Waxy or powdery residue between coats | Water-break, pH or tape test for chalk | Wash and verify before overcoating |
| Concrete laitance or moisture | Thin concrete layer on back of coating | ASTM D7234; moisture testing | Mechanical prep to specified CSP; moisture testing |
How to repair delamination
- Remove all disbonded coating. Scrape, power-tool or blast back to a boundary where knife or tape testing shows tightly bonded coating.
- Correct the interface. For substrate failures, re-prepare to the specified grade and profile (see surface preparation standards) after solvent cleaning. For intercoat failures, clean and scuff-sand or sweep-blast the remaining coat so it is uniformly dull, or use a tie coat approved by the manufacturer.
- Feather edges. Taper the boundary of sound coating so the repair does not leave a lifting edge.
- Confirm with a test patch. Before full-scale repair, apply and pull-test a trial area after cure.
- Consider total removal. If adhesion is marginal across most of the surface, spot repair will chase failures indefinitely.
Overcoating an aged system with a high-stress or strong-solvent coating can trigger delamination of the old layers underneath. Test the existing system’s adhesion and compatibility before choosing an overcoat strategy.
How to prevent delamination
- Solvent-clean before blasting and prepare to the specified cleanliness and profile.
- Verify profile, cleanliness and dust levels at an inspection hold point before coating.
- Track recoat windows on a coat-by-coat basis and abrade any coat that has exceeded its maximum interval.
- Check epoxies for blush and weathered coats for chalk before overcoating.
- Control film build within the data sheet maximum to limit internal stress.
- On concrete, measure moisture and surface strength before coating.
- Confirm compatibility of every coat in the system with the manufacturer.
Frequently asked questions
What pull-off value is acceptable?
There is no universal figure. Acceptance values depend on the coating type, substrate and project specification, and the failure mode matters as much as the value.
Why does my topcoat peel off the epoxy primer?
The most common reasons are an exceeded recoat window, amine blush on the epoxy surface, or contamination between coats. Abrading and cleaning the epoxy before topcoating usually prevents it.
Can I paint over peeling coating?
Not reliably. New coating adds weight and stress to a layer that is already losing adhesion. Remove loose material back to firmly bonded coating first.
Is delamination the same as blistering?
Both are adhesion losses, but blisters are localized domes containing liquid or gas, while delamination is a broader separation of the film.
Educational reference. Coating performance varies by formulation. Always follow the manufacturer’s product data sheet, safety data sheet and your project specification.