Concrete Surface Profile (CSP)
Concrete surface profile (CSP) is a scale from 1 to 10, defined by ICRI Guideline 310.2, that describes the roughness of prepared concrete. Coating manufacturers specify a CSP range so the coating can bond properly.
Concrete surface profile (CSP) is the standard way to describe the texture of prepared concrete before coating, sealing or overlaying. The scale runs from CSP 1 (nearly flat) to CSP 10 (very rough) and is defined in ICRI Technical Guideline No. 310.2R, “Selecting and Specifying Concrete Surface Preparation for Sealers, Coatings, Polymer Overlays, and Concrete Repair,” published by the International Concrete Repair Institute. ICRI sells molded rubber replica CSP chips so that a prepared surface can be compared by sight and touch with each profile.
Why profile matters
Coatings bond to concrete through a combination of mechanical anchoring and chemical adhesion (see adhesion science). Preparation does two jobs:
- Removes weak material such as laitance, curing compounds, old coatings and contamination.
- Opens and roughens the surface so the coating can penetrate and lock in.
The right profile depends on the coating thickness. A thin sealer can bridge only a gentle texture, while a thick overlay needs an aggressive profile to resist shear and curl stresses. Too much profile for a thin coating causes peaks to show through, pinholes, and excessive material consumption. Too little profile can lead to delamination.
The CSP scale
The ten profiles are commonly associated with these preparation methods:
| CSP | Description | Typical methods |
|---|---|---|
| 1 | Nearly flat | Acid etching, detergent scrubbing, light grinding |
| 2 | Slight texture | Grinding, light water jetting |
| 3 | Light texture | Light shot blasting, light scarifying, fine abrasive blasting |
| 4 | Medium-light | Light scarifying, medium shot blasting, abrasive blasting |
| 5 | Medium | Medium shot blasting, medium scarifying |
| 6 | Medium-heavy | Medium to heavy scarifying, heavy shot blasting |
| 7 | Heavy | Heavy abrasive blasting, heavy scarifying |
| 8 | Heavy | Scabbling, heavy scarifying |
| 9 | Very heavy | Scabbling, needle scaling, hydrodemolition |
| 10 | Very heavy | Hydrodemolition, handheld concrete breakers, heavy scabbling |
These are typical associations from the guideline; the actual profile produced depends on concrete strength, equipment settings and operator technique. Always compare the result with the chips.
Matching CSP to coating type
ICRI 310.2R gives general guidance that links coating thickness with profile range. In broad terms:
- Sealers and thin films (penetrating sealers, thin epoxy or urethane coatings): CSP 1 to 3.
- High-build coatings and thicker films: CSP 2 to 5.
- Self-leveling and broadcast systems: CSP 3 to 5 or more.
- Polymer overlays and mortars: CSP 4 to 9.
- Concrete repair materials: CSP 6 and above.
Coating manufacturers publish their own requirements, which take priority. Many polyurea and polyurethane systems call for a profile in the CSP 3 to 5 range with a compatible primer, but read the data sheet for the specific product.
Preparation methods
- Diamond grinding concrete produces CSP 1 to 3 and is good for thin systems and flat floors.
- Shot blasting concrete produces CSP 3 to 6 and is fast on open floors.
- Scarifying concrete removes thicker layers and produces CSP 4 to 9.
- Abrasive blasting works on walls, ceilings and complex shapes.
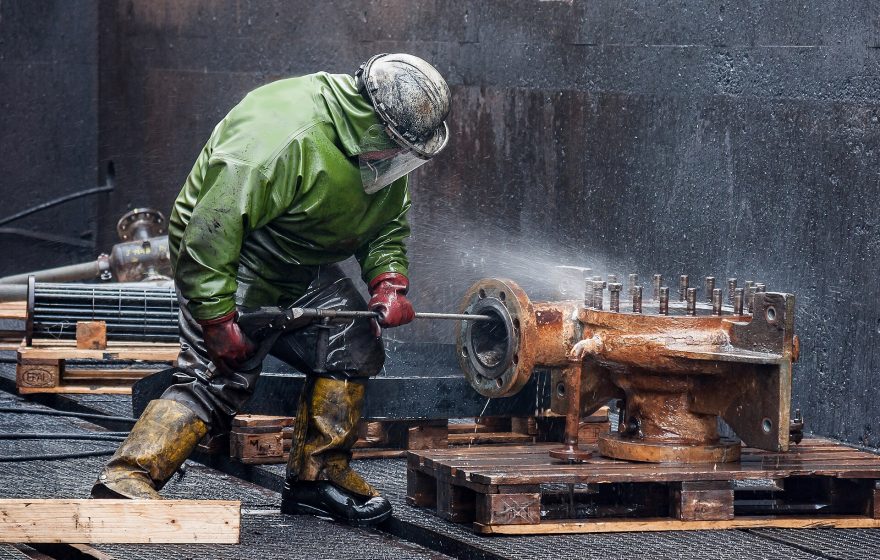
- Water jetting ranges from light cleaning to hydrodemolition.
See concrete surface preparation for the broader process.
How to assess CSP on site
- Clean the surface of dust so the texture is visible.
- Place the CSP chips next to the surface under good, low-angle light.
- Compare visually and by touch.
- Record the CSP at representative locations and note any areas that differ.
- Prepare a mockup area at the start of the job so that owner, contractor and inspector agree on the accepted profile.
CSP is a comparative, qualitative method. Quantitative alternatives such as laser profilometry exist but are less common in the field.
Other checks before coating
Profile is only one part of readiness. Before coating, also check:
- Surface soundness by pull-off testing (see concrete pull-off testing).
- Moisture condition (see concrete moisture testing).
- Cleanliness and removal of dust.
- Repairs of cracks, joints and spalls (see concrete crack repair before coating).
- Temperature and dew point at application time.
In practice
In practice, the contractor and inspector agree on the required CSP before work begins, often by preparing a small test area and comparing it with the ICRI chips. That area then becomes the visual standard for the rest of the floor. If the prepared surface is too smooth, the coating may lack mechanical bond; if it is too rough for a thin system, peaks can show through. Matching the preparation method to the target profile avoids both problems.
Key terms
- CSP chips. Replica coupons produced by ICRI that show the ten concrete surface profile levels.
- ICRI 310.2R. The ICRI technical guideline that defines CSP and describes preparation methods.
- Laitance. A weak, powdery layer of cement fines at the top of concrete.
- Bruising. Microcracking below the surface caused by impact methods.
- Profile depth. The peak-to-valley roughness of the prepared surface; heavier systems generally need deeper profiles.
Frequently asked questions
Is acid etching enough for floor coatings?
Acid etching produces at most a light profile and leaves residues if not rinsed thoroughly. Many manufacturers now prefer mechanical preparation.
Can I measure CSP with a depth gauge?
Not in the standard method. CSP is a visual and tactile comparison with the chips.
What if the profile is too rough?
A leveling primer, scratch coat or additional coat may be needed. Follow the manufacturer’s recommendations.
Related entries
- Concrete surface preparation
- Shot blasting concrete
- Diamond grinding concrete
- Coating concrete
- Scarifying concrete (new)
- Concrete crack repair before coating (new)
Educational reference. Coating performance varies by formulation. Always follow the manufacturer’s product data sheet, safety data sheet and your project specification.